Dashboards bring information from all Qualys applications into a single place for visualization. You can customize and share the information with specific users. The dashboards give you an ability to view your organization's data at a single place. This allows you to get a better understanding of your data and make informed decision.
The Dashboard library allows you to create your own dashboard using existing widget templates, customize existing widgets or create your own widgets to suit your need. The templates are segregated based on the subscription to other Qualys products.
You can create a dashboard using one of the following options:
- Creating Dashboards Using Template
- Creating Dashboards From Scratch
Unified Dashboard provides you with different dashboard templates. We provide with ready to use templates for dashboards that you could quickly add to your list of dashboards and start monitoring your assets.
1. On the Dashboard page, click the Tools
 menu and select
Create New Dashboard from the
menu.
menu and select
Create New Dashboard from the
menu.
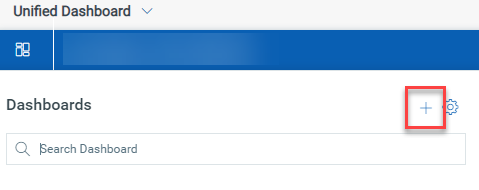
You can also click the ![]() icon to create
a new dashboard from the Dashboard picker
icon to create
a new dashboard from the Dashboard picker
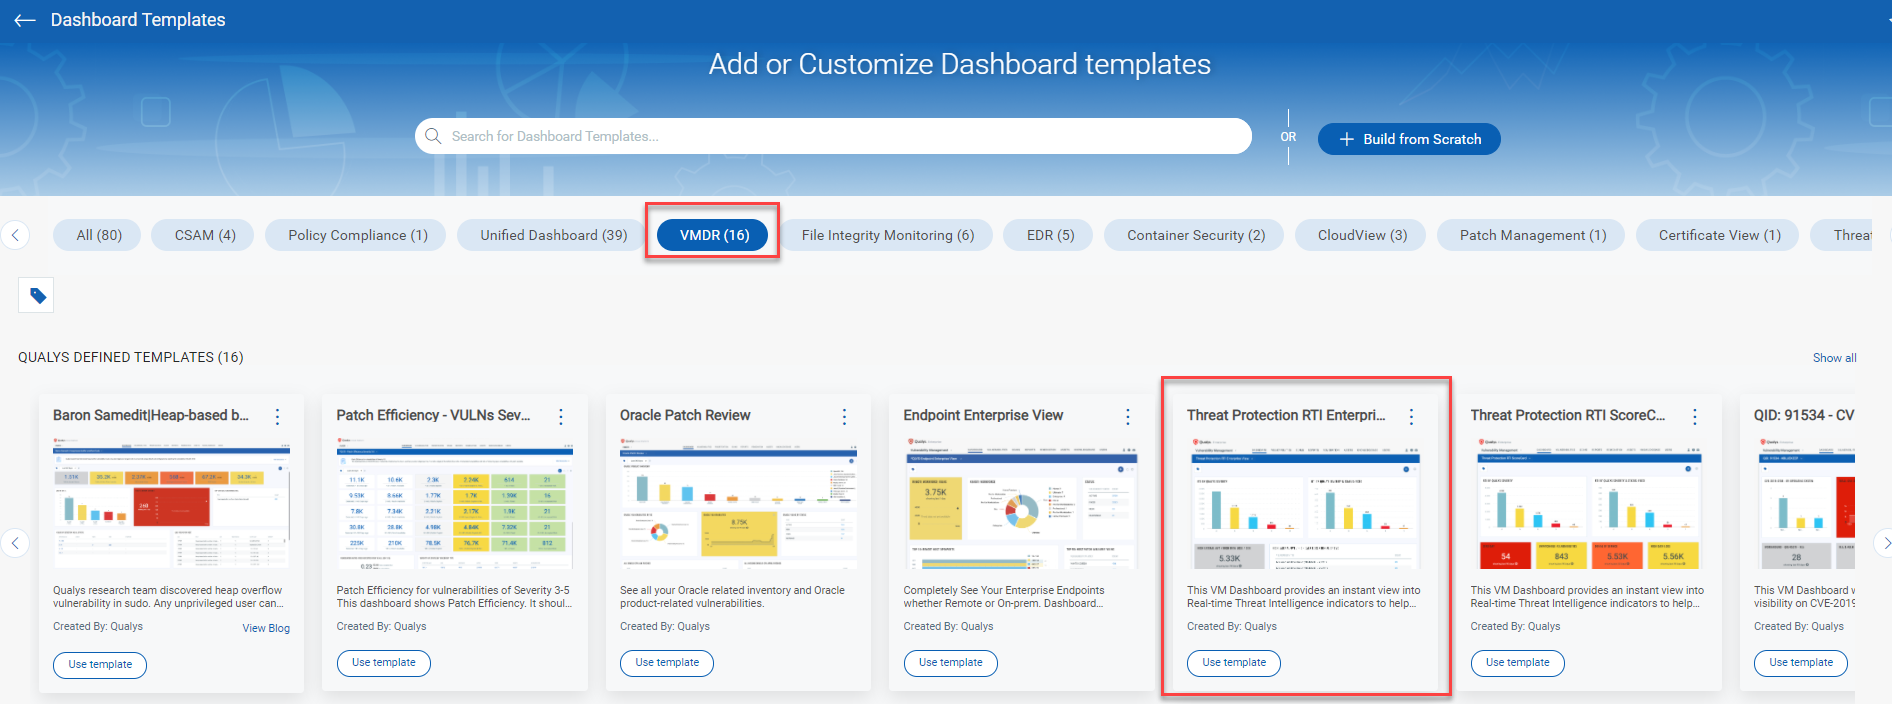
2. Click the Module for which you want to build the dashboard.
3. For the template you want to use, click Use template.
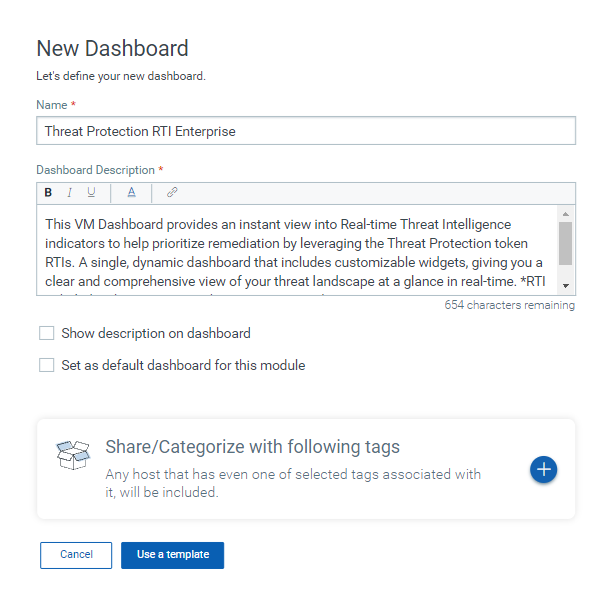
4. On the New Dashboard page, the Name and Dashboard Description are pre-populated. Based on your preference, you can modify the details.
5. Click  to select the asset tags that you want to associate with the dashboard.
Only the users that are assigned the asset tags will be able to view the
dashboard. You can assign asset tags to user using the Administration
utility. You can use the Default Dashboard Access Tag to allow all users
to view the new dashboard.
to select the asset tags that you want to associate with the dashboard.
Only the users that are assigned the asset tags will be able to view the
dashboard. You can assign asset tags to user using the Administration
utility. You can use the Default Dashboard Access Tag to allow all users
to view the new dashboard.
Note: If you don't add any asset tags to a dashboard, only the creator can view the new dashboard.
6. Click Use a template to save the dashboard.
The dashboards displayed in the Dashboard picker  and Manage dashboards are listed in alphabetical order of the dashboard
name.
and Manage dashboards are listed in alphabetical order of the dashboard
name.
You could add more widgets to dashboard, edit existing widgets, change the layout of widgets and many more things in your dashboard. To know more about the various actions on widgets, see Managing Widgets
1. On the Dashboard page, click the Tools menu
and select Create New Dashboard from the menu.
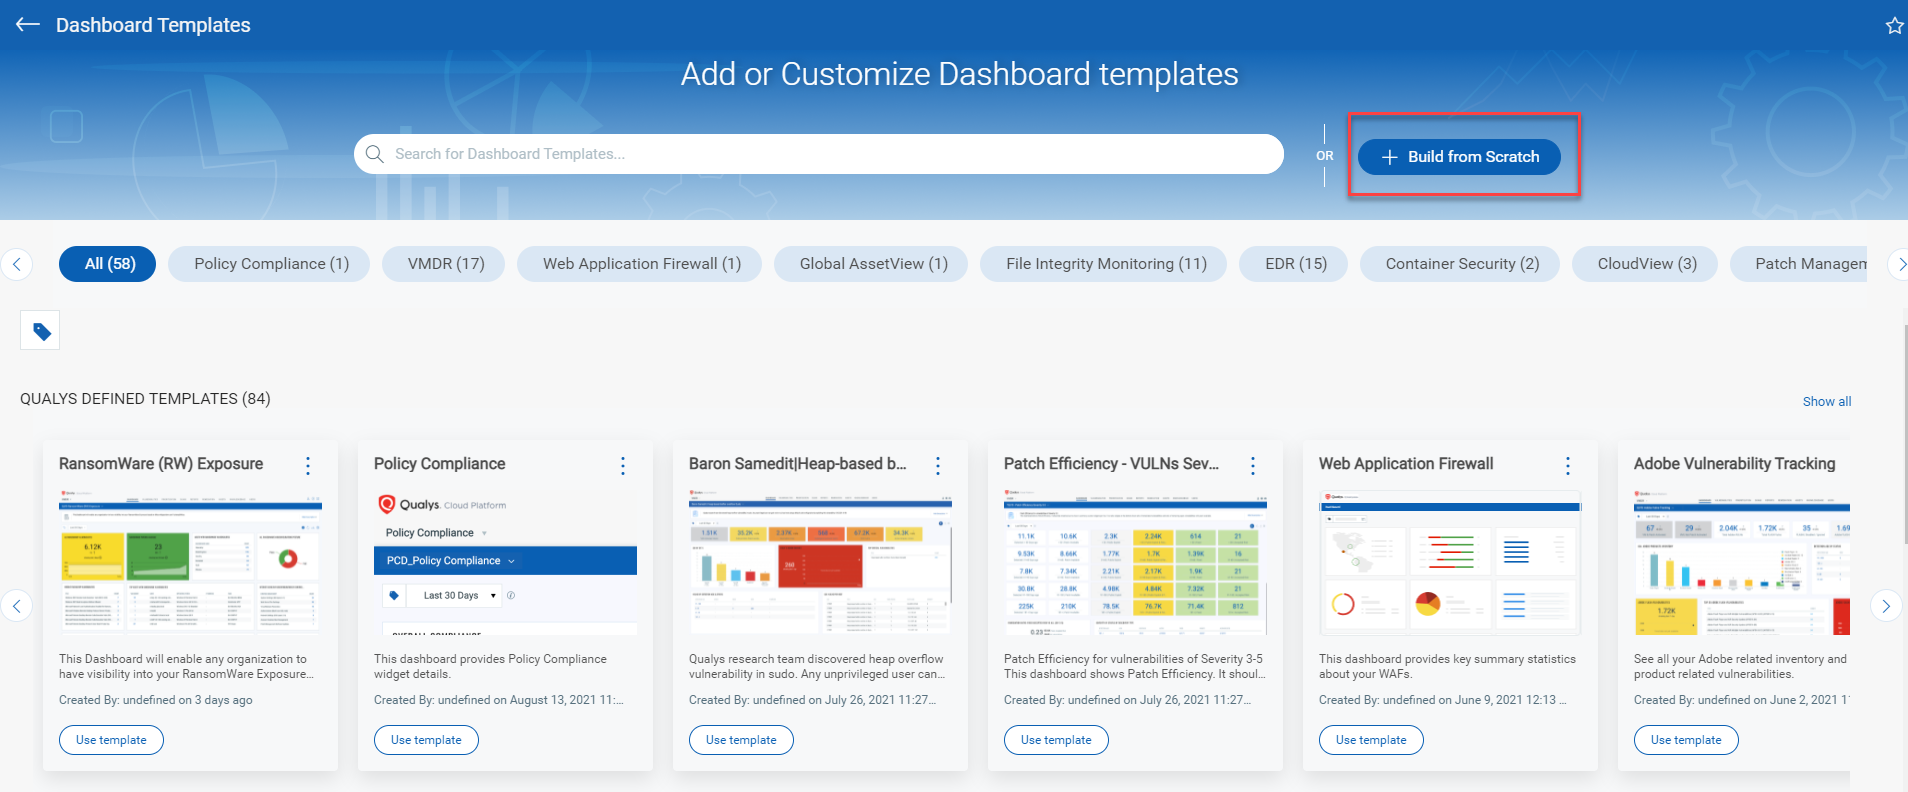
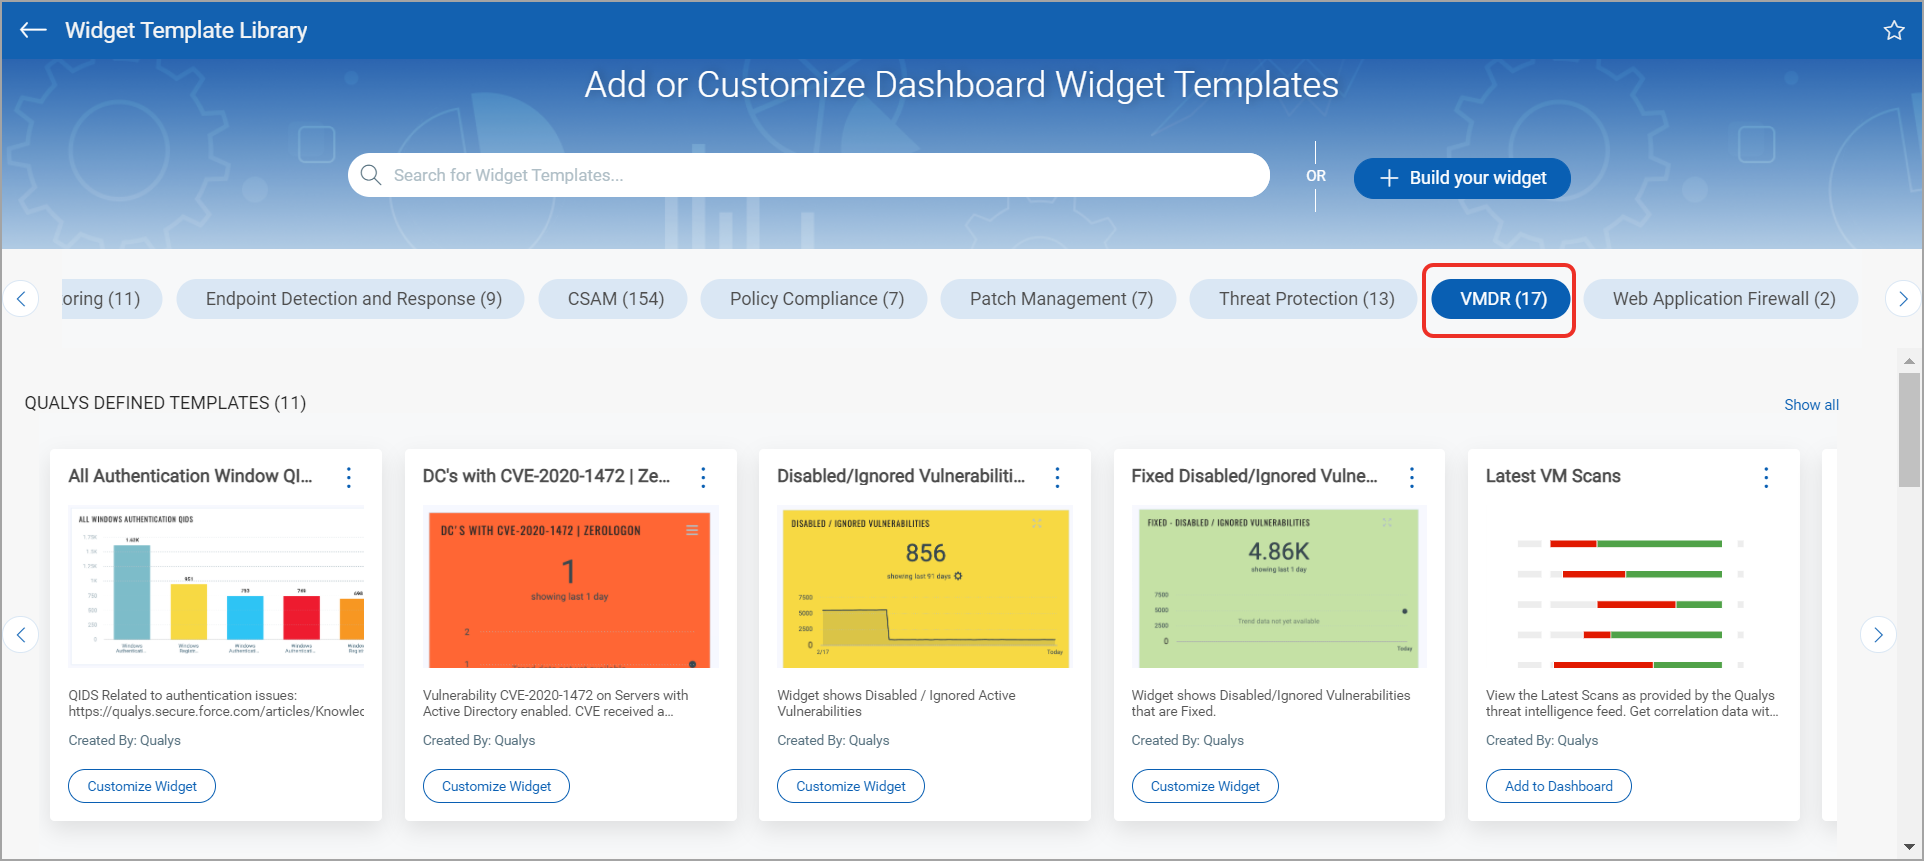
2. On the Add or Customize Dashboard templates page, click Build from Scratch.
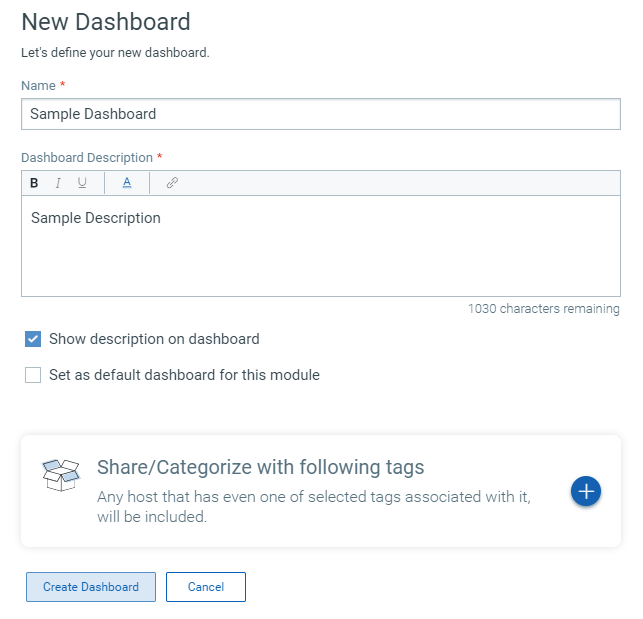
2. Provide a name and description for the dashboard.
3. Select the Show description on dashboard option if you want the dashboard description to be visible on the dashboard.
4. Select Set as default dashboard for this module option to configure your default dashboard. When you view Unified Dashboard module, the default dashboard is displayed.
5. Click
to select the asset tags that you want to associate with the dashboard.
Only the users that are assigned the asset tags will be able to view the
dashboard. You can assign asset tags to user using the Administration
utility. You can use the Default Dashboard Access Tag to allow all users
to view the new dashboard.
Note: If you don't add any asset tags to a dashboard, only the creator can view the new dashboard.
6. The Add Widget to Dashboard page is displayed.
Select the application and then pick the widget from the widget library. You could customize the widget templates that we provide or create a widget from scratch. For information on different widget types we provide, widget templates and other widget related information, see Knowing Widgets.
7. Once your widget is ready, click Add to Dashboard.
8. To add more widgets to the dashboard,
click the Add Widget button and perform the widget
creation steps.
Managing Your Dashboards